The November update for Alinity V6 was released on November 14th, and although most of the changes were small refinements or related to the upcoming Corporations Management module, there was one crucial change we felt deserved some special attention, and that’s the new fee configuration process. The previous method of configuring fees for Alinity could be confusing and overwhelming, so we simplified the process to make it easier and more straightforward.
A New Home for Fees
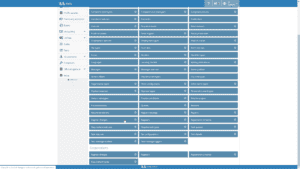 The first major change is where fee configuration takes place now. Although still an advanced Setup option (and thus requiring the Settings Administrator or System Administrator permissions), fees are no longer maintained inside your registers. Instead, because they’re more closely associated with register changes (whether automatic or manual), we’ve moved fees to the Register Changes setup option.
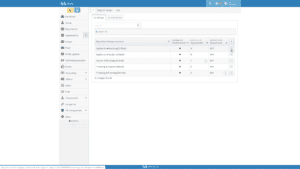 Just navigating to the Register Changes setup option won’t get you all the way there, though. You’ll also have to go into each registration change in order to see or make changes to the fees you’ve already got configured, or to see what fee types that register change will accept. Don’t worry about having to repeat fees for every change though; you’ll have an opportunity to add fees in bulk later on.
Contextual Fees
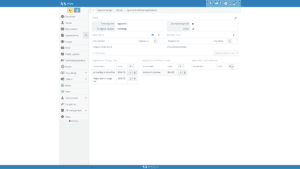 Because fees are now part of your register change configuration process, the system can now recognize the different fee possibilities for each change, and only displays the fee options that may be relevant to that particular change. For example, the Applications → Practicing register change can’t possibly be a renewal, so no renewal fee options are displayed. Your only fee options here are for manual Registration changes, Application submissions, or Application approvals. There’s no more toggling whether a fee applies to new applicants or renewing members or reinstatements; Alinity just shows you the possible fees available and hides the rest to help simplify the configuration process. And if you’re wondering where to put your Renewal fees, just find the changes with the same From and To registers (for example, a standard active practice renewal would be identified as the Practicing → Practicing register change).
Simplified Configuration
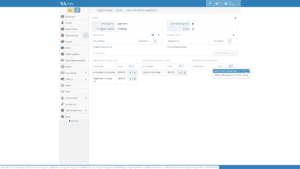 Now for the actual configuration process. From the available fee option columns, just choose the one that you’re looking to configure and click the Add ( + ) button beside it. You will be asked if you’d like to configure the fee for just this one change, or for all available changes to this register. This is how you can add a single fee to multiple changes all at once. Since the example fee we’ll be adding will only apply on approval of an application though, we’re going to add a fee to this change only.
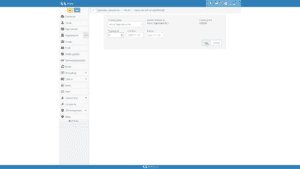 The remainder of the fee configuration process is fairly straightforward and reminiscent of the previous process, though significantly simplified. Just choose the Catalog item you’d like to use as the fee from the available drop down list (and feel free to watch our video about setting up catalog items if you need a refresher). The Invoice description and Current price will display, though you can’t edit them. Like before, you’ll have to set a Sequence value for the fee to tell the system what order to display fees in on invoices, as well as effective and expiry dates, if relevant. Then, just click Save.
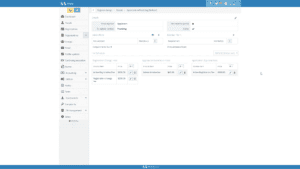 Now you’ll be returned to the Register change details screen, where you can see your new fee in the Application Approval Fees column. To finish, just repeat the process for your different registration changes and fees as required, until your fee schedule is complete.
And that’s all there is to it! We’ll be producing an updated training video on the new configuration system in a few weeks, but in the meantime, ff you’d like more information about the new fee configuration process, feel free to check our our online knowledge base or better yet, get in touch with us directly at info@softworks.ca. And let us know what you think about the changes in the comments below!
